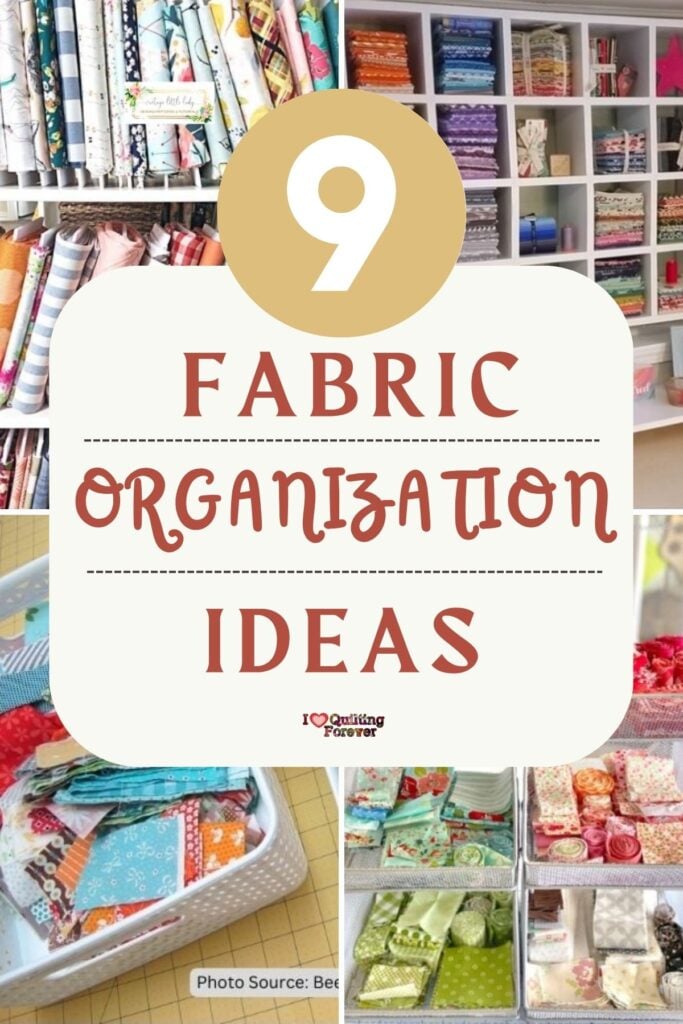
Fabric organization is one of the most critical aspects of setting up a functional sewing studio. It is not just about storing large piles of yardage; it is about managing the entire ecosystem of materials, including fat quarters, precuts, scraps, and projects in progress.
When every piece of fabric has a designated home, you spend less time searching for the right color and more time actually sewing. This roundup explores different educational approaches to organization, offering solutions for every type of cut and every size of sewing room.
By learning how other quilters structure their spaces, you can build a system that supports your unique creative process.
Clever ways to organize every piece of fabric in your room
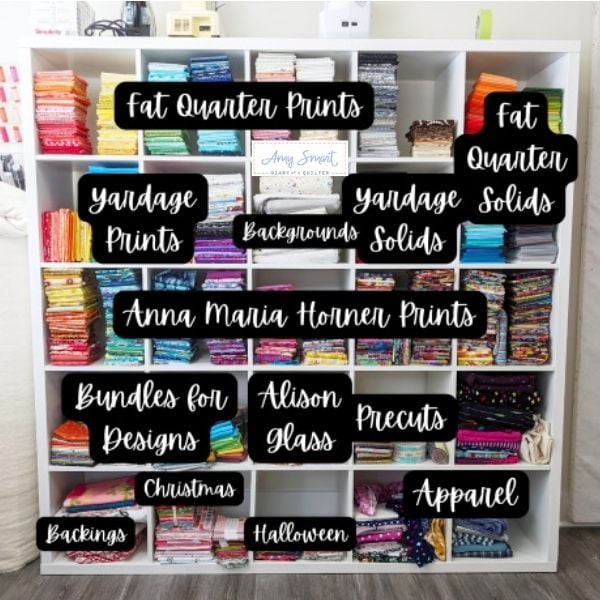
Transform your storage into a highly efficient fabric library by adopting a smart “Category First, Color Second” philosophy. Instead of blending your entire stash into one continuous rainbow, creating distinct zones allows you to find exactly what you need in seconds.
You might designate specific sections for different cuts, separating fat quarter prints from solids, or keeping yardage distinct from precuts. Special collections for beloved designers or seasonal themes like Halloween and Christmas can also have their own dedicated spots, ensuring they don’t get lost in the general mix.
Once your categories are defined, fold your fabric to a uniform width that fits your space—using a ruler as a guide helps achieve those crisp, consistent stacks—and then sort by color within those groups. This ensures your large backings remain accessible and keeps essential staples, like low-volume backgrounds, distinct from your main color library so they are ready for your next block.
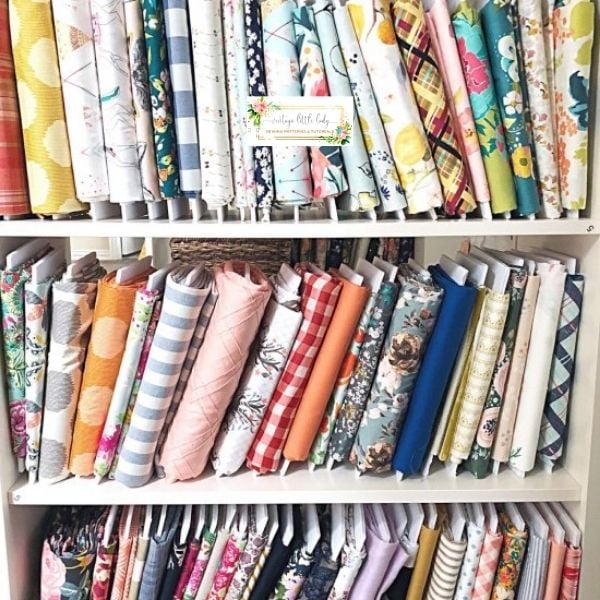
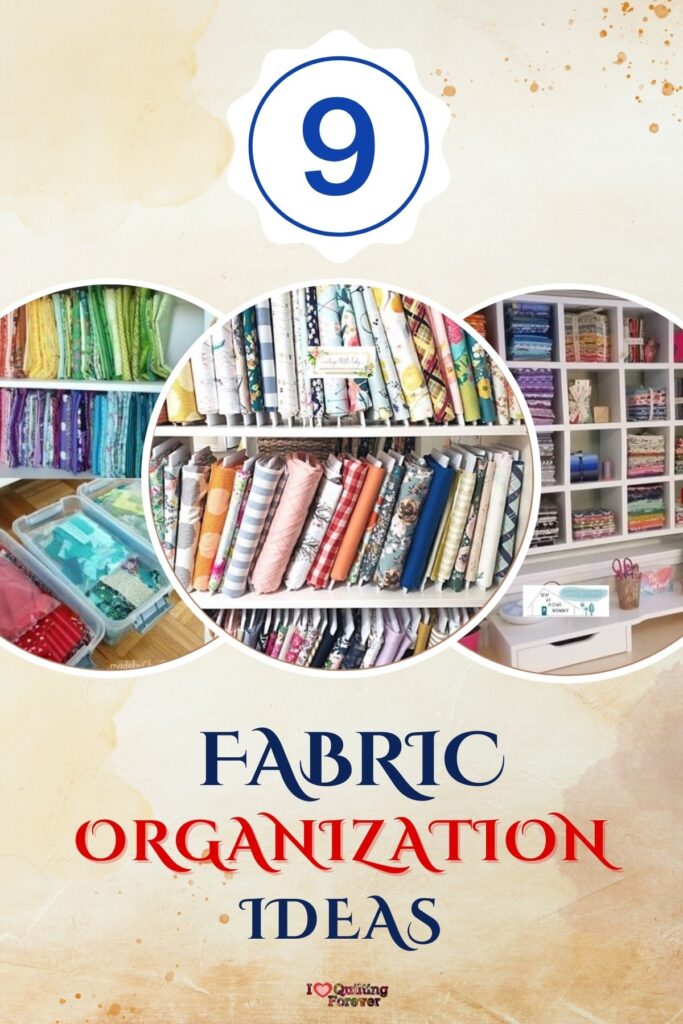
For quilters who struggle with toppling stacks and hidden fabrics, the “mini-bolt” system offers a refined solution that brings the organization of a boutique fabric shop right into your home. By wrapping your yardage around uniform foam board cores, you can store your collection vertically, just like books on a library shelf.
This method provides an immediate visual inventory, allowing you to see the pattern and quantity of every piece at a glance without having to dig through deep piles. It is particularly effective for space management, as the neat wrapping allows you to fit a significant amount of yardage into a smaller area.
To maintain a polished aesthetic, simply secure the fabric ends with pins or clips, ensuring the bolts remain tight and wrinkle-free. Ultimately, this technique transforms your stash into a colorful, curated display where pulling a single fabric never disturbs the rest of the collection.
Rather than letting leftovers accumulate as a chaotic pile of “waste,” this approach encourages treating scraps as a valuable resource to be processed immediately. The strategy involves cutting fabric remnants into standardized, usable sizes—such as 1.5-inch strips, 2.5-inch strips, and 5-inch squares—the moment a project is finished.
By doing this, you build a curated library of “pre-cuts” that are prepped and ready for future scrappy patterns, effectively skipping the cutting step for your next quilt. Any fabric larger than these specific sizes is filed back into the main color-coded bins, ensuring that no piece is left in limbo.
This system shifts the mindset from storing clutter to building a kit, making it easier to dive into spontaneous sewing. It is a discipline that keeps the studio clear and ensures every inch of fabric finds a purpose.
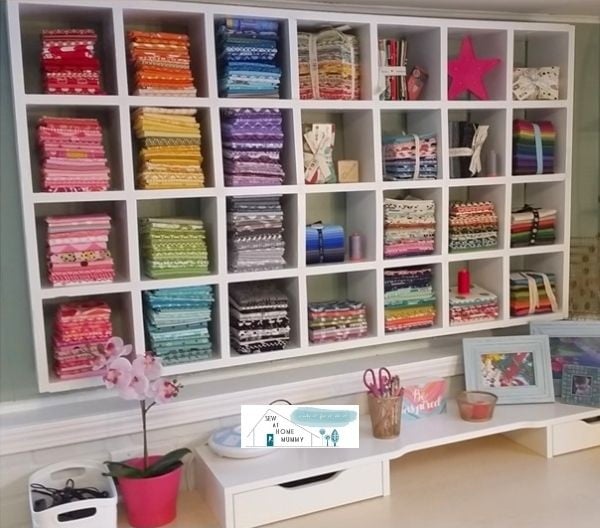
Different cuts of fabric often require different storage environments, and creating specialized zones for them can significantly improve your workflow. For example, fat quarters are best stored in smaller, individual cubbies that fit their folded dimensions perfectly, preventing them from becoming messy or unfolded.
Keeping these distinct bundles separate from your heavier yardage establishes a system where you can instinctively reach for the right area of the room depending on your project’s needs. Constructing or repurposing a unit with smaller compartments—reminiscent of a vintage mail sorter—keeps these smaller cuts organized and visible.
This separation also allows the beautiful colors of the fabric to act as decor, adding warmth and inspiration to the studio walls. It teaches the value of adapting your furniture to your fabric, rather than forcing your fabric to fit the furniture.
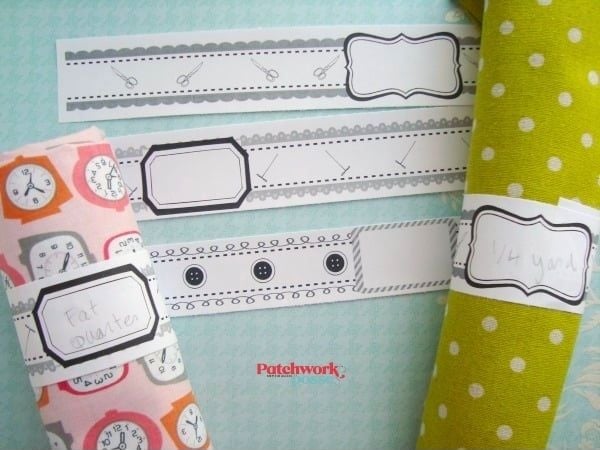
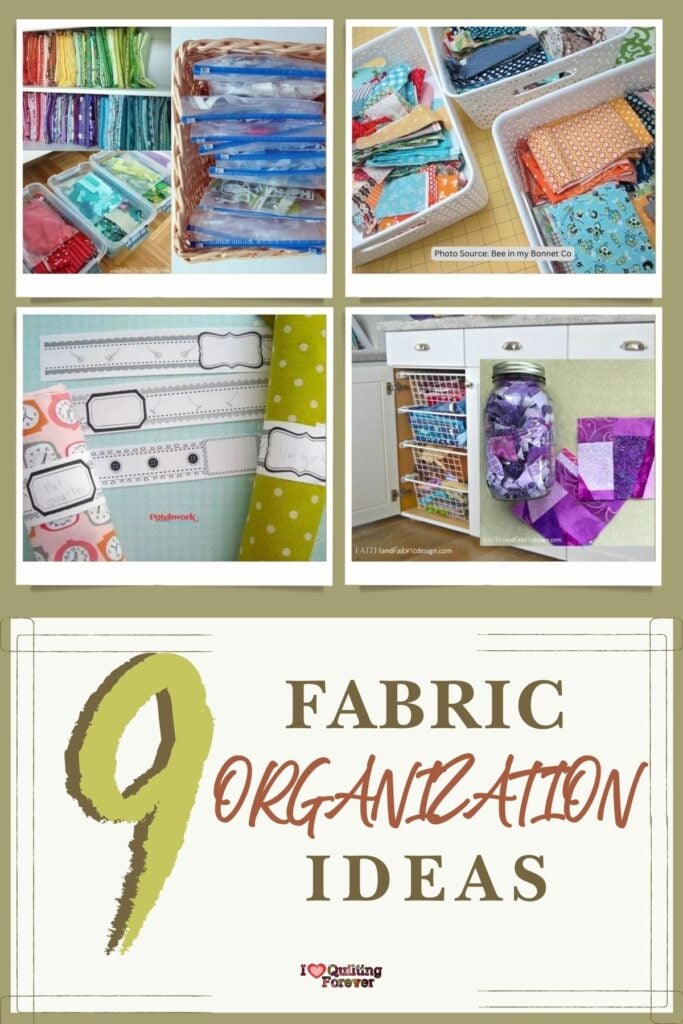
A common frustration in any sewing room is losing track of critical information—such as the designer, collection name, or yardage—once the original packaging is removed. Utilizing printable “bundle wraps” creates a simple, effective way to keep this data attached directly to the fabric.
These paper bands can be secured around rolled or folded fabric, holding the bundle tight while providing a clear space for notes. This is invaluable for keeping coordinated collections together, ensuring that a specific line doesn’t get separated and scattered throughout the general stash.
It also prevents fabric from unrolling in drawers, maintaining a tidy and professional appearance. Implementing this labeling habit ensures that your stash remains an organized archive rather than a mystery pile.
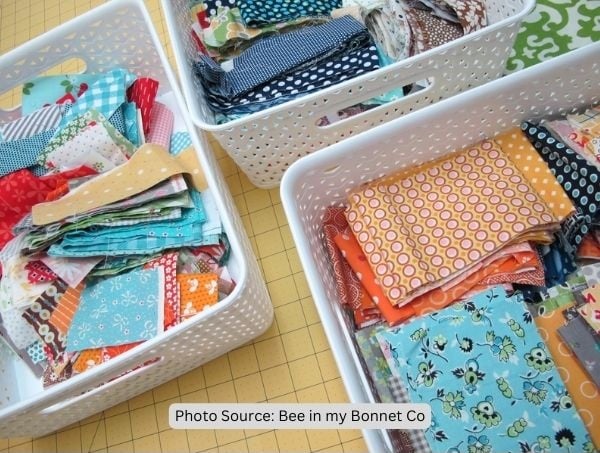
Organization can be seamlessly integrated into the sewing process itself by keeping designated baskets right on the cutting table. By maintaining bins for specific sizes—such as 1.5-inch, 2.5-inch, and 3.5-inch strips—you can trim and sort your off-cuts in real-time as you slice your main project.
This “clean-as-you-go” method ensures that debris never piles up, while simultaneously filling your baskets with ready-to-sew pieces for “leader and ender” projects. It creates a self-sustaining cycle where the waste from one quilt becomes the starting point for another, maximizing efficiency.
This approach turns scrap management into a effortless habit rather than a daunting chore. The result is a workspace that remains perpetually ready for the next creative burst.
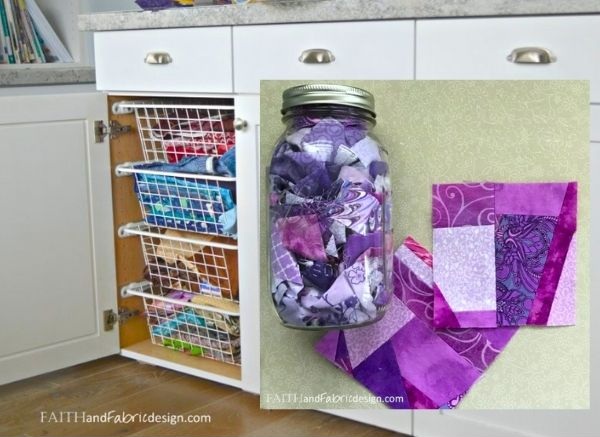
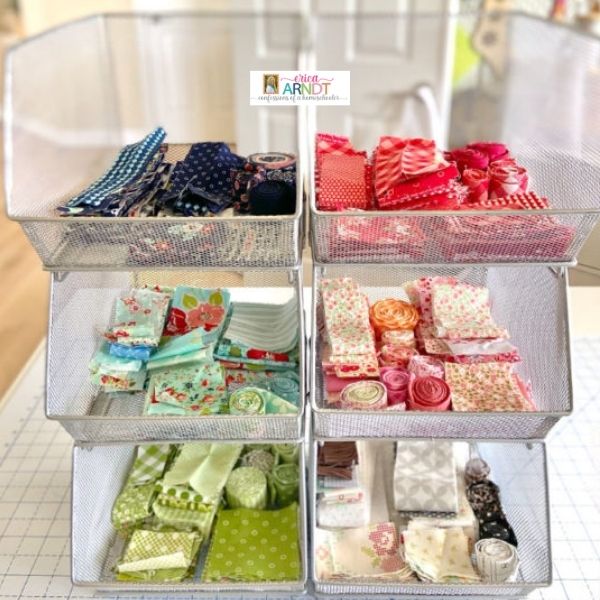
A two-tier sorting system can help balance the need for protection with the desire for visual inspiration. Storing larger cuts of fabric in drawers protects them from dust and light fading, while placing smaller, colorful “nibs” in clear glass jars creates a vibrant studio display.
This method helps you distinguish between “stash” and “scraps” by setting a minimum size rule; if a piece is too small for the drawer but too big to toss, it earns a spot in a jar. When the jars become full, they serve as a visual cue to create “made fabric” blocks, naturally cycling the material out of storage and into a quilt.
It is a system that uses the volume of your scraps to dictate your sewing schedule, preventing hoarding. This approach keeps the room tidy while celebrating the colorful nature of quilting.
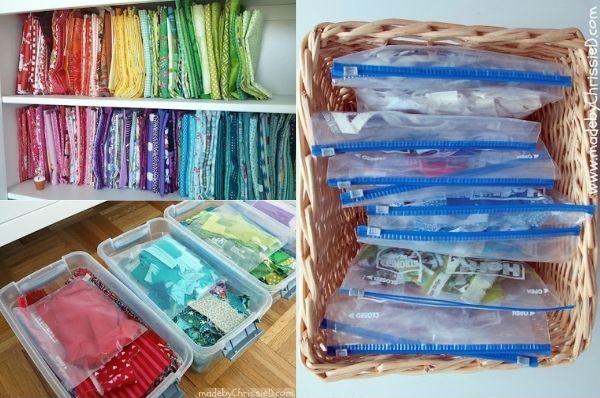
True organization relies on a discipline of immediate sorting and a “clean sweep” reset between projects. As you cut, separate your off-cuts into allocated bins right at the table—keeping waste, selvedges, and scraps distinct from the start.
Once the quilt top is finished, refold your large yardage to fit neatly back onto the main shelves, while pressing and sorting leftovers into clear plastic boxes tucked under your cupboards. To maintain order within these collections, simply isolate solid scraps in Ziploc bags resting on top of their matching prints, and file your color-sorted selvedges into upright bags within a basket.
This routine ensures that nothing is left homeless and your studio is always ready for the next spark of inspiration.
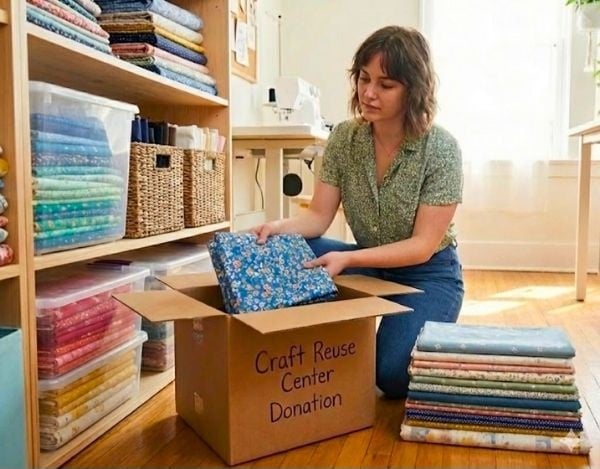
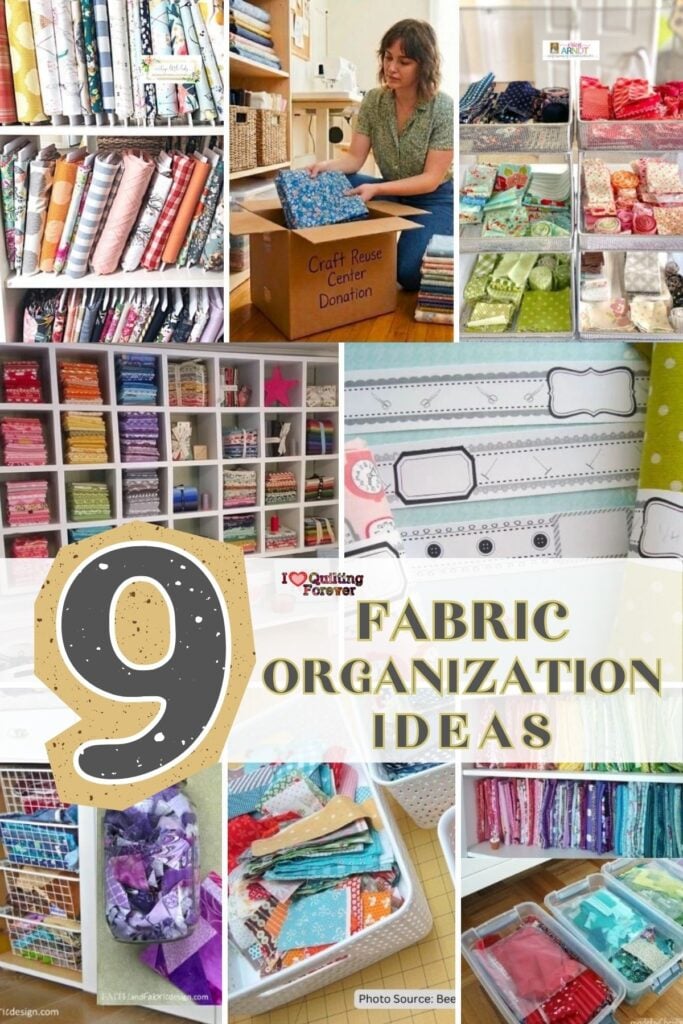
An often-overlooked aspect of organization is the “de-stash,” or the healthy process of removing fabric that no longer serves your creative vision. Regularly editing your collection prevents overcrowding and makes space for new inspiration, with the added benefit of supporting the community through donation.
Identifying local “Craft Reuse Centers” or charitable groups ensures that your unwanted yardage finds a second life with teachers, students, or other makers. This involves simply reviewing your shelves for cuts you are unlikely to sew with and preparing them—ensuring they are clean and odor-free—for their next home.
This practice transforms the act of decluttering into a positive contribution to the sewing ecosystem, teaching that a curated, breathable stash is far more valuable than a massive, stagnant one.
Organizing a sewing room is a personal journey, and there is no single “right” way to do it. The goal is to create a system that makes your fabric—whether it is a precious fat quarter bundle or a basket of colorful strips—easy to find and ready to use.
By combining these educational tips, from uniform folding and vertical storage to smart scrap processing and responsible donating, you can create a workspace that flows as smoothly as your sewing machine. We hope these resources help you take control of your creative space, allowing you to focus on the joy of making.