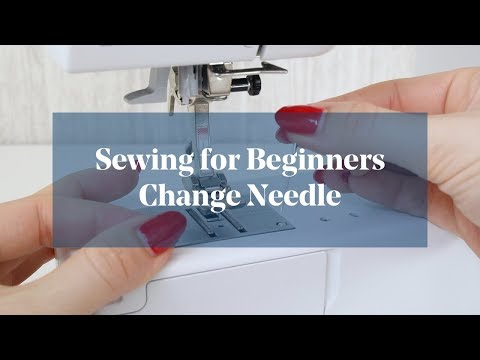
How to Change a Sewing Machine Needle | Step-By-Step Guide

A Step-by-Step Guide to Changing a Sewing Machine Needle is the best way to find out why, how, and when it's performed. This guide will tell you what you need to know about how to change a sewing machine needle.
The steps of changing a needle are simple yet worthwhile for keeping your machines updated and going longer with fewer problems.
Choosing the right size of a sewing machine needle for your project is important because it helps with achieving accurate stitches. In choosing the right needles, start by looking into options with different numbers or letters that indicate needle sizes.
An option with higher numbers means a smaller size, while larger ones have lower number sizing. An example would be European sizes and American sizes, which both size needles differently.
Also Read About: Best Oil for Sewing Machine
4 Simple Steps to Change a Sewing Machine Needle
What You Will Need:
- A piece of cloth or scrap fabric
- A Scissors
- New sewing machine needle
Before you start anything, make sure that all your materials are ready. Also, the sewing machine is turned off with no power to it. For most machines, it would be better not to remove the old needle until after you've pressed the foot pedal to release any tension in their thread systems.
After checking if there's still no power going on your machine, cover your working area so as not to damage it with dropped items. Place a small cutting mat on top of the cloth or scrap fabric for easy pickup. Also, place your scissors on it with the blade pointing away from you.
Step One:
Find the needle clamp screw. It is located near the feed dogs. A needle clamp screw is often covered by a small piece of metal called a throat plate. With the machine unplugged from your sewing, remove your throat plate carefully as not to damage it.
If you have trouble removing the plate because there's another screw below that holds down the presser foot. Then just lift up on it as gently as possible so as not to break or bend its leg.
Step Two:
Once you've successfully removed your throat plate, hold onto it firmly. Now lift out your old needle with tweezers, especially if it has been used for a long period or is rusty. Place your new needle on the end of the tweezers and hold it vertically with its flat side facing you.
Step Three:
Apply some sewing machine oil to the tip of your needle; only a drop will suffice if not two drops. If any excess oil was applied onto the thread system, wipe it off with a small piece of cloth. You can also scrap fabric that you've placed under your working area.
Step Four:
Insert your needle into place by holding onto its clamp screw tightly while turning it clockwise until it's tight against the head plate for secure mounting. Turn counterclockwise to remove any excess oil that may have made its way outside of the screw.
Replace throat plate tighten any screws involved during removal, plug your machine back in and check if everything is working.
Video Guide