Tips for sewing with metallic thread are only for you if you are afraid of using this shiny thread on your unique crafts. Now the first time we let you know is all shiny threads not creates equally. You need to try trusted brands and find out the best metallic for your specific machine.
Previously I use a thread of metallic brand on one device perfectly. But when taking that same thread, onto a different brand of the machine had negative results. So it’s essential to test the other popular brands, as you’re going along before you stick to one.
Also Read About: Brother CS7000i vs CS7000X
The primary reason why a metallic thread will break is because of the way it comes off the spool. When you have a thread on the machine, and it’s coming off the spool like this tricky winding system cause kinks and break.
Make sure that you do is you have your metallics coming off the spool so that that’s not creating any curls. If you have kinks coming off that eventually, that thread will hit the eye of the needle, and it will cause a thread break.
Now I love sewing with metallic threads, but I didn’t always. I used to shred them, break them, curse them, and then switch to an ”easier” thread at the expense of the look that I truly desired.
Learning tips for sewing with metallic thread was essential to me, and now that I know the right tips, I can sew all day long without a single shred, break, or the wrong word. Here are the tips that made my life easier. I hope it helps you too.

Tips for Sewing with Metallic Thread – Step by Step Guide
So, folks here we are going to share step by step guide for sewing with metallic thread;
1- Vertical spool holder
Because metallic threads do have metal in them, they act a little different than other threads. The best metallic threads make from a thin, flat, ribbon-like polyester film. That is metalized with aluminum or a holographic foil to make them brilliantly reflective.
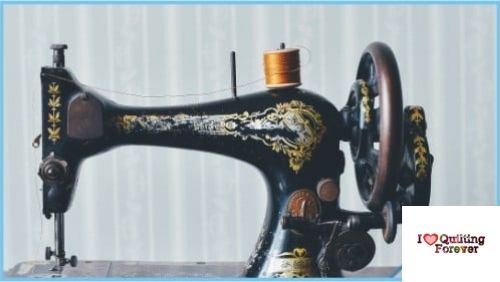
But since they are flat and should remain flat (untwisted), putting them on the vertical spool pin and having them come off the front of the spool and then through the machine is your best bet. Ensures that they don’t fold over on themselves or twist, which can cause breakage.
2- DIY spool holder
Now you can create your own little metallic thread holder. A styrofoam cup and a pen put the pen through the cup and put the spool on the inside. You have a horizontal spool, which means that as this thread comes off, it’s coming out nice and smoothly. And you don’t have to worry about any kinks that being created.
Now the other thing that you want to make sure that you do when you’re running metallic threads is to slow your machine speed. To down the slower the actual rate, the fewer kinks when it hits the eye of the needle.
3- Right tension adjustment
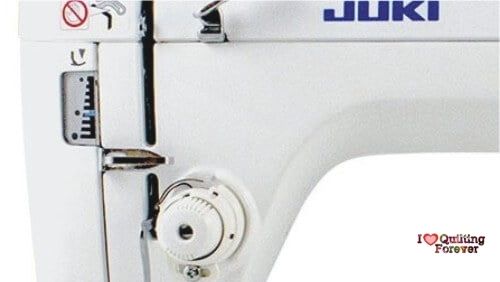
The kind of metallic thread you are using and how you are sewing will help you determine where your top thread tension should be. When you do regular sewing with the flat metallic thread, you adjust your tension down to about a 2 or 3. If you are making the free motion, you should take your thread tension down to a 0. If you are using original metallic, adjust the tension dial at 3 or 4 for regular sewing and 1 or 2 for free motion.
The best way to figure out what will work for you on your machine is to take a practice piece of fabric and try the different tensions. Be sure to take the time to check the back and the front at the various tension dial positions. Also, most machines will perform better with a spring-loaded free-motion foot.
4- Special needle
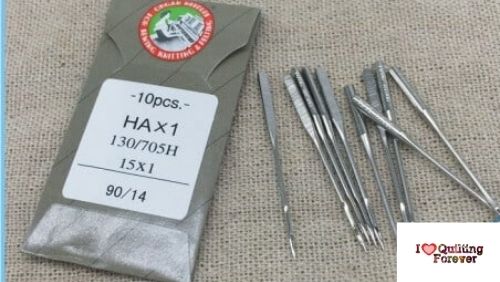
For mostly metallic threads, you can use a 90/14 metallic needle. Most often, I use a 90/14 or 100/16 topstitch needle. I love schmetz needles. I like that they are color-coded, I love having the schmetz app on my phone, and I know the quality is excellent.
5- Lubrication for sewing with metal thread
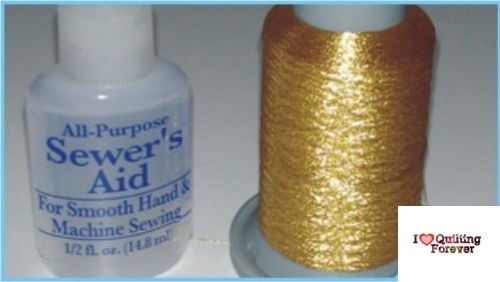
Lubrication is essential for smooth sewing, but when you use a metallic thread for sewing, then lubrication becomes critical. Oh, I love my Sewer’s Aid! Put a dot of it on your finger and rub it along the needle. This little bit of lubricant allows that thread to flow through the hand without any issues.
Moreover, you can also run a bead of Sewer’s Aid on the spool of the metallic thread itself. Sewer’s Aid is excellent stuff. It doesn’t leave any residue on your fabric or the thread but read the user manual carefully to see if this type of lubricant is okay to use on your machine.
6- Slow and steady wins the race
This one took me years to learn, and it’s’s right about most sewing. If you want something to look better or perform better, more often than not, sewing slower is the key. I still like to kamikaze sew but if I am using metallic threads, going slower often means I finish faster because I am not stopping to deal with breakage caused by excessive speed.
Related Articles:
7- Thread quality matters
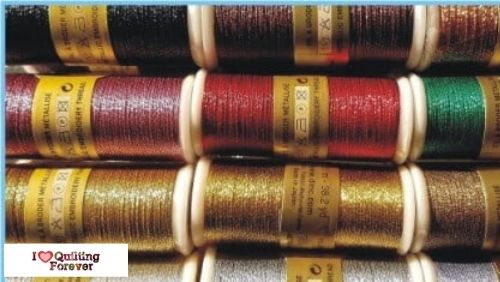
When it comes to any decorative thread, the quality matters; when you started using a metallic thread, and suddenly, you look down, and the yarn is showing through a little bit of white? That is the core thread showing through the metallic layer.
Most metallic threads are foil-wrapped threads around a core thread. Often that core thread is white. But some high-quality threads match the core thread as closely as possible to the color of the metallic. That way, if, for some reason, the core does peek through, it doesn’t ruin your project.
8- Have the right bobbin thread
Superior, Sulky, Madeira, Fujix are well-known brands of bobbin thread. But the best one is which one is compatible with your sewing machine and fabric. If you are doing machine embroidery, you can use Sulky 60 wt. You can use some Invisible thread as well, but be sure to wind it very slowly onto the bobbin, and only about 1/2 full.
9- For machine embroidery, slow down
One of the most important factors from “tips for sewing with metallic thread”. According to sulky, vice President of consumer relations, “Patti Lee” about machine embroider with metallic threads, this is what she said, One of the most frequent questions I get is:
“When embroidering a design using metallic thread, is the design digitized to use metallic thread?”
Metallic thread requires more ”room” than a 40 wt. Rayon thread, I have found that most designs that have well digitize. If they are not too dense, will adapt to metallic thread reasonably well. Sometimes you may need to enlarge the design slightly to accommodate the metallic thread.
BUT MOST IMPORTANT: SLOW YOUR MACHINE SPEED DOWN.
Most machines will use metallic threads reasonably. Well in a design if you slow down the device – and you may need to use a thread lubricant. A poorly digitized pattern, however, may not ever do well with metallic threads. Very dense designs, even if well digitized, may not be able to accommodate the thicker metallic threads. However, I have made it work in some pretty dumb patterns with patience.
10- Maximize stitch length for metal thread
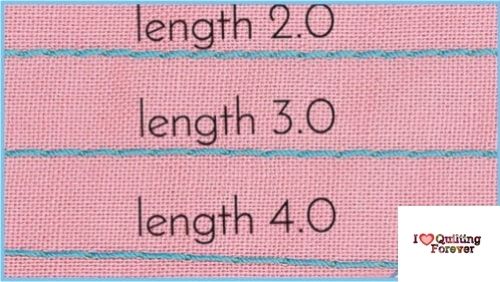
Metallic threads don’t like abrasion, and they mean to be seen. So a longer stitch length is a great way to minimize the abrasion and allow more of the beauty of the thread to shine through.
11- Practice for perfection
Like most things in life, practice makes perfect. Tips for sewing with metallic thread are a practical guideline for you. Just the other day, I sat down at my machine and used metallic thread for free-motion quilting for 4 hours straight without a single issue.
Partly that is because I used all these tips above, but part of that is I have practiced doing free-motion with metallic threads a lot! I have tested the theory repeatedly, and it still proves itself true: Practice does make perfect.

